This is a tutorial on how to construct a stocking - it was written and posted to go with the A Blackwork Christmas SAL but will also work for any of the other stocking patterns I've given over time. It will be given in sections that you can use depending on how you want to finish your stocking - not everyone wants a lined stocking but you may need pointers on how to finish a two sided stuffed stocking. Please note that this is a photo tutorial so is picture heavy - please make sure you are on Wi-Fi if using a mobile device.
This is the part about pattern preparation - it goes for lined stockings.
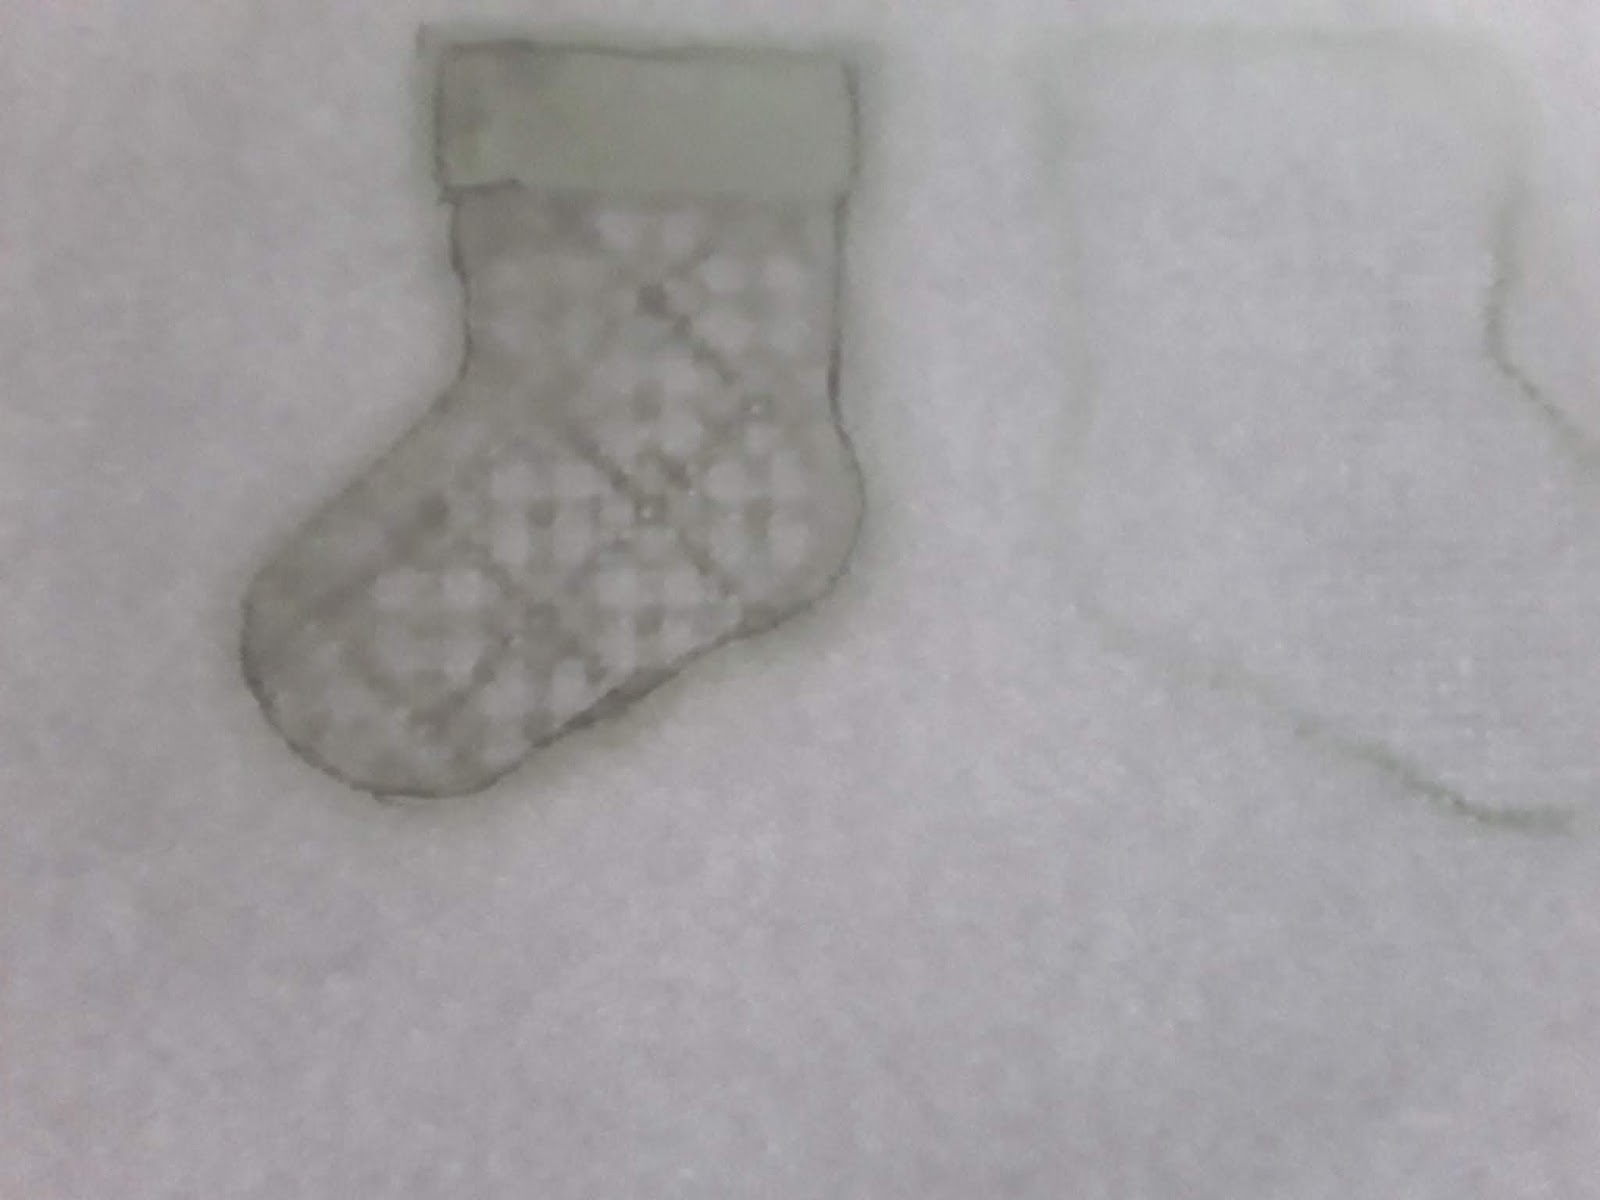
First of all after completing the stitching (you can see here that I only stitched one side and did the outline for the other) you need to make a pattern for the lining - I should have ironed first but I forgot - fortunately the bit I was taking the pattern from was completely flat, which is important.
Use a bit of sellotape or painters tape to stick your embroidery (right side facing the glass) to a window - or lightbox if you have one, Since you will be cutting away the edges it doesn't matter if there is a residue.
Grab a sheet of not too thick paper - printer paper is perfect! Tape it over the top of the embroidery. Use a pencil (just in case you stab a hole in the paper - you don't want ink showing!) and trace just inside the stitching line - it's better to be a bit smaller than a bit bigger as it's supposed to fit inside the embroidered bit and if it's bigger it won't.
While you trace round the lines a bit off so it's not blocky like the embroidery is.
Cut it out and check for size - mine is a bit on the bigger side I noticed so I'll be adjusting that for next time. You want to see the lines of the edge of the blackwork.
All ready for the next step!
This bit is for cutting the lining - it's for lined stockings.
After picking your fabric fold it in half right sides together and place your pattern on it. If you are worried about it moving you can use some spray adhesive to keep it in place but be careful with pins as they tend to distort the shape and on this scale that might cause issues.
Trace around the pattern with something that will show up - I used water soluble pen but you could use dressmakers chalk or a ball point pen - you won't see these lines in the end so it's not too important.
This is where you pin it to keep things in place - and now you can see why I said pins can distort the shape! Pin the centre first, then the edges.
Cut out the stocking shape about 1/4" 0.75cm from the line - don't do what I did and cut ON the line as you will then end up with something that's too small to use. This is what happens when you get distracted.
Using the correct stocking with the seam allowance still attached...
Stitch around all but the top of the cuff side with a combination of running stitch and backstitch (if in doubt you can backstitch all the way!) As you can see I'm not very good at hand sewing.
Once you have completed the stitching cut away HALF the seam allowance on the sides you stitched closed - you don't need much seam allowance now but having more to start with made the stitching easier.
Fold over the longer top seam allowance along the pattern line you made, then flip it over and fold the other side to match.
Finger press the seam allowance of the edges you stitched to one side - as you can see it probably won't stay in place but that's ok.
Stocking construction - this bit mostly goes for all stockings, if doing a stuffed stocking skip the bits that include the lining.
Cut out your stockings with about 1/4" seam allowance or four stitches from the backstitched lines. Note that I didn't make an indent along the long side, I just cut a straight line.
Since embroidery fabric likes to unravel it's best to use fabric glue or Frey Check to stabilise the edges, especially along the curves and indents. Don't do the top edge.
Allow the glue to mostly dry then snip the seam allowance to CLOSE to the backstitched outline - then fold to the wrong side. I'm using clips to keep the top seam allowance folded over at this point, which I folded down after I folded the side seams in.
If you are using a lining then make sure that your top edge is folded in this way: side seams in, then fold the top edge down. This means that no raw edges will show once it's constructed.
For lined stockings: tuck the lining under the seam allowance of one of the stocking halves. I used a load of clips to help wrangle it in place as mine was a smidge too big as mentioned above. But it's probably easier to pin or clip them together anyway.
For all stockings: place the front and back right sides out on top of each other and use either clips or pins to hold it all in place.
Front view of the stocking all ready for stitching together.
 |
| Opps forgot to take a photo of this so used a photo from this year's ornament. |
Starting at the top of the back whipstitch the sides together by sliding the needle under the backstitched threads from left to right or right to left depending on your personal preference. I included a bead every other stitch but you can skip beads altogether or do them every stitch if you prefer.
When you have reached the top slide a cord in place at the heel side of the stocking. Then, if you are making a lined stocking, using small stitches whipstitch the lining to the edge of the stocking. If you are not lining the stocking it's time to stuff (or not if you prefer it flat) and then you can finish whip stitching the final edge together.
And there you are - one finished stocking!
I hope this tutorial was helpful! If you have any questions please do ask! What is clear to me might not be to you and you may need additional pictures or information to help you and I won't know unless you tell me. Since I make a new stocking every month I'll have plenty of chances to make new photos!


Wow!!! Thank you so much!!!
ReplyDeleteYou are very welcome :)
DeleteThanks for writing such a helpful tutorial! :)
ReplyDeleteYou are very welcome! :)
DeleteGosh, applying lining to such a tiny stocking sounds daunting! I'm sure with all these pictures, though, it'd be easy to do.
ReplyDeleteIt's actually a lot easier than it looks - half my problems came from having to put stuff down to make the photos hehe. I'm sure it will be - especially with enough pins/clips to keep stuff under control.
Delete