I seem to be having a great deal of trouble remembering to make updates here in-between all the finishing of projects that I have been doing.I need to remember that just throwing my photo's at Deviant art isn't enough and I need to also update here.
So here is what I've been up to since my last update:
This time something different.. inspired by the #
ArtisanCraft creative craft challenge.
I found these plastic button things that you could embroider in the
sewing shop when I was getting eyelets for the corset I made last week
(no photo yet - I'd taken it with me to England last week and mailed it
home as it was too heavy for my suitcase - damned Ryan Air max carry on
weight restrictions!) and thought they'd be fun to play with, they are
but they are also rather fiddly to hold as well.
They are 7/8 inch - 2,25 cm across and embroidered with a full strand of DMC in 3 shades of blue and ecru.

Happy birthday DA!
Sources and inspiration:

The DA llama badges
The DA logo
The DA 10 birthday badge that I changed to show a 12
I was inspired the colour of Peridot (August's birthstone) when I made the "12" badge green.
I made the flapping cloaks of the super llama's different in an attempt to show that they were indeed flapping.
I mounted the embroidery on a pale pink card and gave it a slightly smaller blue glossy card border as the front of the card.
Sizes:
Complete Embroidery: not quite 3 1/4" by a smidge over 4"
Colours used overall: 84
Complete card: 5 7/8" x 7 3/8"
Llama's :

18 x 15 stitches each
Brown has 30 colours, albino has 32 colours
7/8" x 1" each
"12" Birthday badge:
17 x 26 stitches
23 colours
1" x a smidge over 1 3/8"
DA Logo:
23 x 23 stitches
2 colours
a smidge over 1 1/4 " square
"Happy Birthday" message:
57 x 23 stitches
1 colour (I just love variegated thread!)
3" x a smidge over 1 3/8 "
All sizes are given Width x height, this also applies to the stitch numbers.
Patterns available on request.
_________________________________________________
Oh wow!! I
won 3rd place with this!
")
Thanks!!
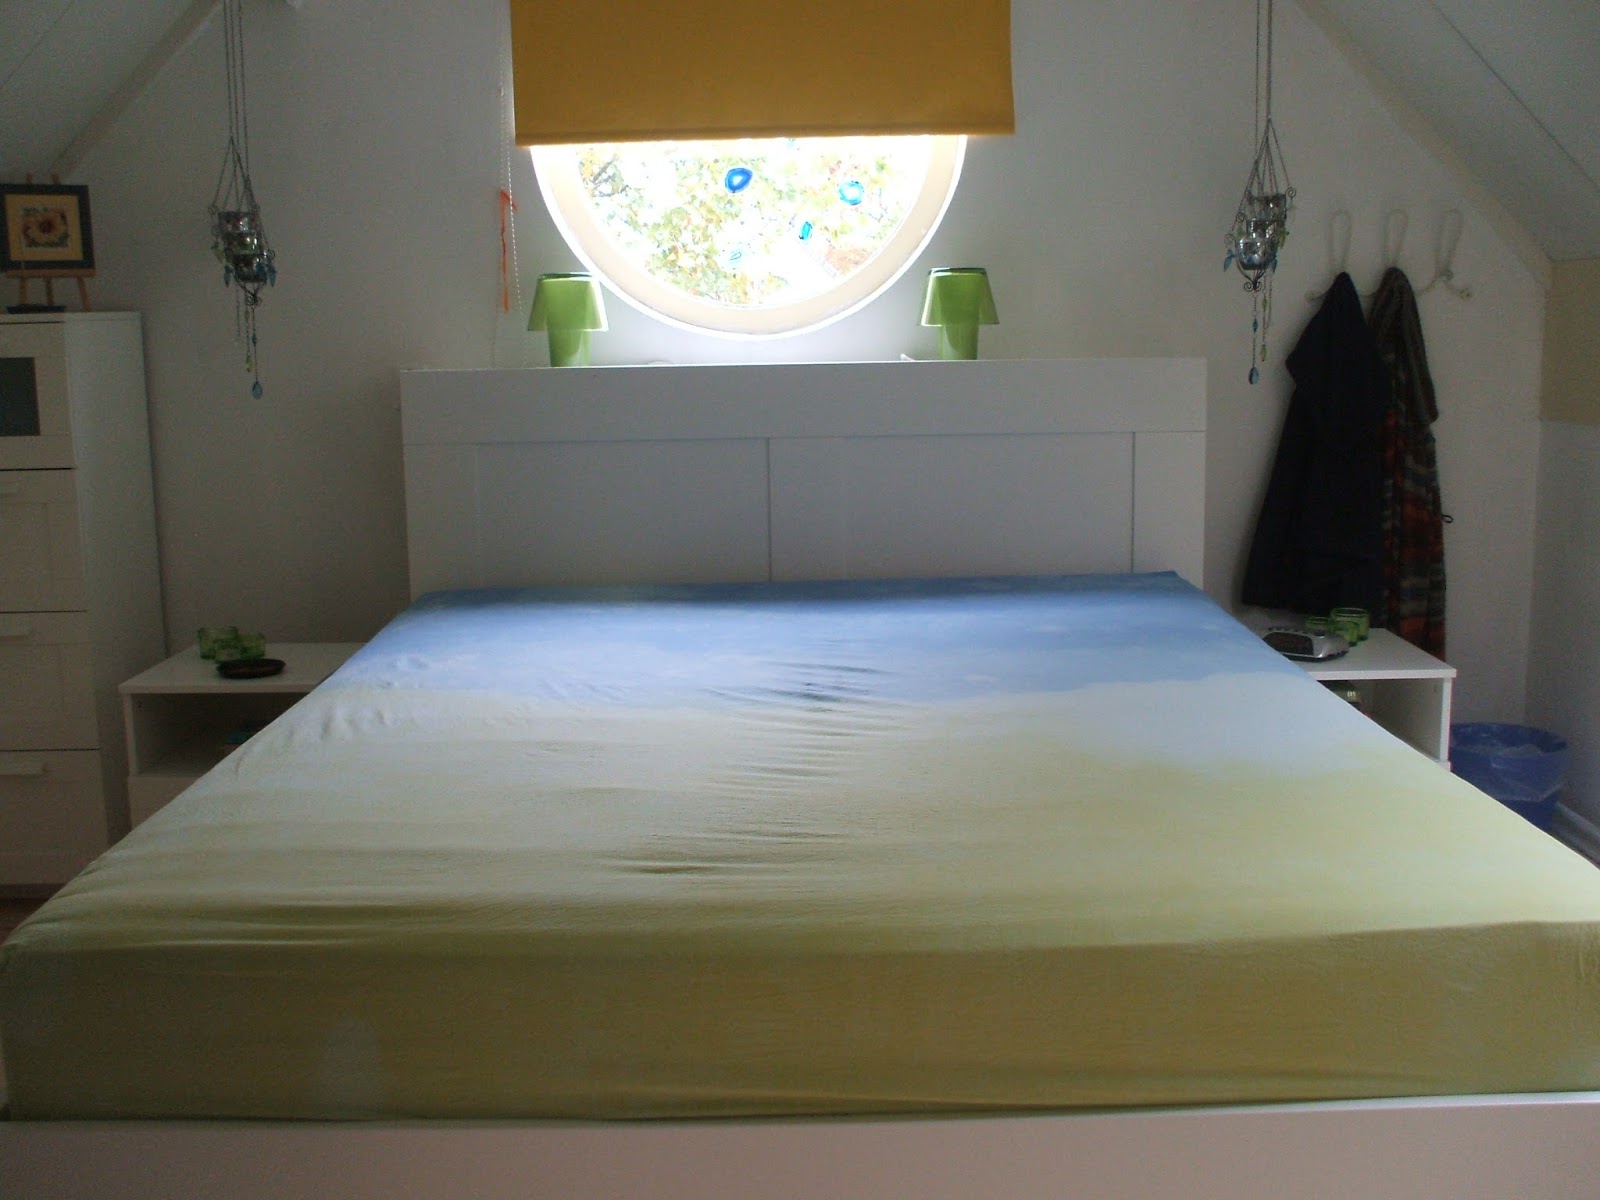
I revamped my bedroom because the bed had broken and I thought it was high time I painted the walls since it still had the decorations from when I painted it for oldest when he was 2 and moved into the room. The photo's below show the room the evening it was more or less finished
I started finishing my UFOs (UnFinished Objects) to finally get them done.
This is the first of my UFO's that I've completed.
I have no idea when I started this but it was a good 6 years ago at the very least. It was less than half finished when i picked it up again and took me about
a day to complete. I finished it at last today
 (Smile)")
It's
the Lanarte kit 36016 - I left out the word "Narcissus" to the right
because I don't like that kind of thing in embroideries.
Stats:
16 colours
3" x almost 4 1/2 " / 7,6 cm x 11,5 cm
The dog rose is one of my favourite roses - I love the smell and will
sniff the flowers *even though* they give me a nasty allergy attack
afterwards (yes I know.. I just can't help myself lol)
This is
the second UFO I've completed in my attack of the UFO's and one which I
was dreading for some reason - it was really easy to do in the end and
only took me a couple of hours to complete. The frame was part of the
kit (Permin of Copenhagen kit 13-0172)
Stats:
10 colours
1 thread over the weave
1 3/4" x 2 5/8"/ 4,5 x 6,5 cm
This was made for the #
stitchingpirates Tiny Pillow Cross Stitch Contest! .
I was planning on something rather larger and more complicated but time
was against me I decided that since this was a mini pillow competition
I'd make mine *really* small
As one of my main goals in art is to use what I have on hand as much as possible I applied the same principals to this project.
Materials used:
Embroidery fabric: a 2 1/2 inch/ 6,5 cm scrap of 18 count/7 squares per cm white Aida
DMC floss in 12 colours: 699, 700, 701, 702, 703, 704, 740, 741, 742, 743, 744, 745
A 2 1/2 inch/ 6,5 cm scrap of Bali batik
Stuffed with mini scraps of quilting fabric
Stats
Finished size: 2"/5 cm
Number of stitches: 1024
Size of corner tassels 1/2 " / 1,25 cm
I
have for a long time thought of doing something with quilt blocks in
embroidery and although I haven't actually done much with Log cabins in
quilting I do love the resulting look of them. I made this pattern based
on 4 blocks of the "uneven log cabin" (an example of the quilt pattern
is here:
[link]
) turned so that the skinny "logs" were all in the centre and the wider
ones made the outside edges. I had originally planned on adding
backstitches in black to show where the "seams" would be but when I did
some on the embroidery it looked horrid so I spent an age removing all
the backstitches and wished I'd had time to do a sample first.
My stitches aren't as even as usual for 3 reasons:
1)
I'd used a piece of Aida that was too small for any of my embroidery
rings and so couldn't put it under tension to keep it even and had to
make do with the way I held the bit of fabric.
2) My hands didn't
like the above and complained bitterly but time was too short to put it
away for a few days as I was expecting to need at least a day for all
the backstitches that I didn't do in the end.
3) When removing the
backstitching some of the time I caught a stitch and pulled it - I have
done my best to return them to where they should be but it didn't always
work and 2) means I can't go back and re-do stuff as I need to rest my
hands.
Solution for 1 will be to use a larger piece of Aida next
time OR baste it to some fabric and then put it in the frame (didn't
remember that trick till I was writing this lol)
The solution to the other two is to start sooner, or choose to wait for the next competition if I'm too short of time.
I chose the colour of the backing fabric because it had the colours of the embroidery in it.
I
made 1/2" tassels with the darkest embroidery thread as I like how that
looks on pillows. It was a bit of a challenge to make them look nice
and even as this was the first time I'd ever made tassels.
After
I'd finished the embroidery I washed and pressed it and then carefully
attached the tassels to the seam allowance of the embroidery to keep
them in place while I sewed and after it was finished. I then pinned the
backing fabric to the embroidery and hand sewed it all in place leaving
what turned out to be a too small a hole to turn the stiff Aida through
easily but with a bit of patience, a *lot* of easing and a chopstick I
was able to turn it the right way round.
Next time I will first
sew on a border of normal fabric before sewing it to the back as that
will mean that the side seams are all the same fabric strength and
stiffness and it will make the corners easier to turn and more pointy
(although with this pillow I am not too displeased with how the corners
turned out
) I will also leave a larger opening to turn through.
Keeping
the work the same way round was a bit of a challenge as it looks the
same from every angle so in the end I used a bit of thread to baste a
couple of stitches to the top so I'd know which way round it was. With
the frame on I don't have this issue as it's easy to tell which way is
up due to the closure.
Overall I'm reasonably happy with the results
Edit:
WOW!
I won joint first prize with *pinkythepink !!  Thanks!!
Last July Project Educate on Deviant Art held a Artisans Crafts week and one of the things there was the "
Try something new challenge" I fully intended to join in by making a book myself but time ran out on me and I didn't get round to it.
Having
decided to make a book myself I didn't want to set this aside as a
project and now that I had a bunch of other stuff out of the way (such
as my
mini pillow and holiday)
I thought I'd try my hand at making a Coptic bound journal. I wasn't
sure what to do for the cover or pages till I saw the monthly AC
challenge
maps and lost places which sparked my imagination.
Before
I started I read just about every tutorial in the tutorial section and
watched some video's on youtube as seeing how a stitch is done is much
easier than trying to work out how the drawing was done.
As one
of my main goals in art is to use what I have on hand as much as
possible I looked around the house for old maps and travel books looking
for maps to include on the cover. Unfortunately I only had a couple of
small pamphlets that were left over from a biking holiday + from a day
trip to a town as well as an old guide to the Algarve so I wasn't able
to use a single map for all of it. I used the pamphlets for 3 of the
outer covers and some cut out maps from the guide book for the front
inner cover. I allowed the folds of the maps to show as it adds texture
to the completed journal and shows that real maps were used.
I
didn't have much paper of the same colour to hand so I decided to choose
the colours based on the different colours you see on maps:
Green for the woods/fields
Yellow for the main roads
White for the smaller roads
All
the signatures are made from 4 sheets of paper folded in half to make 8
leaf signatures. I had enough to make 2 signatures in green, 2 in
yellow and one in white.
I used the back of a writing pad for the thicker cardboard for the covers.
In
my search for stuff I had found an old awl I'd been given at the same
time as a 1903 cobblers treadle, it was pretty blunt but there was also a
neat little whetstone in the box so I first learnt how to sharpen an
awl before using it to make the holes for the stitching. I used the
eyelet making tool that I'd used for my corset to make the holes in the
covers.
I used DMC embroidery floss (colour 798) for the sewing
so I could match the colour of the thread to the blue of the maps (used
to make routes) and added some beads and other bits to both of the top
holes to add a bit of interest to the book and helps one remember what
is the top. I tried to use things that one might have found lying around
while travelling: shells, leaves, a coffee bean, a "silver" bead.
I had fun making this and am glad I decided to try my hand at book making
Stats:
Height: 6 1/4" / 16 cm
Width: 4 1/2" /11,5 cm
Thickness: 5/8"/ 1,5 cm

This is the 3rd UFO I have hauled out of the box and finished.
It
was supposed to be a "quilt" with a width 3 of the square patterns and a
hight of 4 of them. The pattern has a 1995 copyright on it and I think I
must have bought it around that time - not much later than 1996 anyway.
I
had to start with a bit of stitch removal because I'd miscounted and
some of the stitches were one stitch too far to the left AND I'd been
confused by the colours because the kit had said that the "blue" had the
white (that I didn't use in the end) in it - in my kit the green did -
and with the green and blue so close It was easy to be confused.
I
really didn't like the way the green and blue background colours (yes
there are two) almost blend together because they are (IMO at least)
badly chosen - there should have been more contrast. The quilter in me
also didn't like that the darkest green or blue "flowers" are don't have
identical bits as this should be the case in the quilt pattern. The
green lower bit is filled in where it shouldn't be and in the blue the
bottom right one is one stitch shorter per row. The pattern itself is
well made and very clear - I have no complaints about the quality of the
printed work, just the floss colour choices and the design of the
pattern.
I could have "fixed" all this but I'd already started
this and didn't want to have to rip even more out to make it "perfect"
so I decided to at least make something out of it so I made another mini
pillow.
The green in the border (and backing) was a true find -
with the green and blue so close it reads as the colour I chose for the
borders, even though the colour isn't anywhere in the embroidery. I made
the tassels myself again - this time from the medium green and blue
from the leftover thread from the kit. The pillow was again completely
hand stitched and if you look carefully - well ok you don't have to look
*that* carefully to see them - you can see my tiny stitches near the
bottom.
Stats and info
The pattern is: Four Winds (Amish Quilts II Kit) CSK-358 by Cross My Heart
Colours used: 6
Aida: Black 14 count / 6 squares per cm
Stitched area: 2 5/8 inch / 6,5 cm square
Stitches: 4 x 18 stitches square with a lattice of 2 stitches wide left empty between them for a total of 1296 cross stitches.
Pillow: 3 3/4 inch / 9,5 cm square
Tassels: 1 1/4 inch / 3 cm long
I'm
happy it's finished and glad I decided to make it into a mini pillow
instead as the perfectionist in me was screaming quietly the whole time I
was working on this.

One of my youngest son's
teachers got married and he wanted to give her something "mummy made"
so I dug around and found a partially made wedding bells and rings card
that was embroidered on perforated embroidery paper ( this stuff:
[link] )
It
was supposed to have a lacy frame but youngest insisted I used E 5200 -
a light effects perlescant white which was slow going as it does tend
to tangle more than normal thread even when put on the needle the way
DMC says and as I couldn't pull it tight it was horribly uneven. After 4
days of hell and only a small amount done (well small for me - I
usually work faster) I gave up trying to do that and just cut out the
bells and rings bit that I had done. I then glued them to a pale pink
card and let youngest write in the card himself.
The pattern and perforated paper comes from DMC collection book number 6 that was printed in 1994.
I'm
afraid I forgot to measure the work before I let youngest take it to
school but the bells embroidery is about 2 1/2 inches square.

The 5th UFO that I have done as far as I'm going to. It's the blue
butterfly pattern by Thea Gouverneur (pattern #1024) and is supposed to
have a stalk and another leaf and a gazillion back stitches but I had
reached the point of call it done or throw it away as I have developed a
deep lying hate for uneven rough woven linen (and I already hated
backstitching anyway) I have discovered by careful comparison of the
embroidery I did and the pictures online of the pattern that my colours
are also not completely correct and if I had continued they would have
continued to happen - some of the mistakes i have won't show now because
I didn't do the stalk.
Another thing that disappointed me was
that the pattern is hand drawn and the symbols are not always clear and
sometimes even completely missing so I had to guess what to put in that
empty place - basically I filled it with whatever colour I had on my
needle when I noticed it unless it looked out of place to do so.
In
the end I just called it quits and stopped - I have a feeling that this
will become part of something at a later date - when I get past the
hate for the linen
 (Wink)")
Size of embroidery: 6 x 4 1/2 " / 15,25 x 10,1 cm


![[link]](http://www.deviantart.com/users/outgoing?http://quiltbus.com/images/unevenlogcabinform104.gif)
![[link]](http://www.deviantart.com/users/outgoing?http://0.tqn.com/d/crossstitch/1/0/-/B/-/-/perfpaper.jpg)