I am (of course) running late with this, but then it's still January so it's not *that* late hehe. I'm going to try and do this properly this year, so not just a list of what I've done but also answering the question/doing the topic of the month. This month's topic is: "Introduce yourself, your projects, and any goals you have for the year!"
I go as either Magical or Magical525 online. I am a 45 (yikes) mother of 2 boys, one of which is, at 13, now taller than I am by more than a head with the appetite to match which means I have effectively given up trying to cook enough to have leftovers as, cue to his appetite, there are rarely any leftovers. My youngest son is still 11 and despairs at ever being taller than I am - ha!
I tend to have phases of when I do crafts, currently it's cross stitch and crochet but, as you can tell from my blog name, it is also on occasion quilting, though I do that a lot less at the moment. No matter which craft I do I tend to not only follow patterns but also go my own way and create my own, some patterns you can find on this blog (along with a bunch of recipes) and my latest series of patterns are being hosted over on
Nerd Central Command International Headquarters These patterns are part of a SAL and have also led to my first two finishes of the year!
Allow me to take a moment from the WIPocalypse to introduce my SAL:
Ornament of the Month Which is a year long stitch along that gives you the pattern of a new ornament every month so that by next Christmas you will have 12 new ornaments for your tree - or a garland, or a wall hanging as I have given a pattern to combine all 12 ornaments into a single wall hanging if you don't want ornaments.
The ornament is made with the border from the wall hanging to make it a little bit different and larger, it's 3" on each side and was made with 3 colours of DMC and craft thread for the hanging loop and tassel.
The garland section you see below was made using the pattern for the ornament, the loops to the side will be used to join the sections together much like how you would loop a thread onto a needle to stop the thread slipping when using metallics. The finished size of the ornament is 2 1/4 "
Both were made on 16ct antique white Aida, the colour difference is due to the top ornament being photographed in artificial light and the bottom one in daylight.
Back to WIPocalypse stuff...
In my last post I wrote a quick list of things I want to work on this year:
- Mike's Mushrooms - it's in dire need of a bit more love and some more being stitched on it.
- TW's Castle Ridge - a new start for the year and I want to finish it this year too.
- My ornament SAL - I want to stitch them up myself too and make examples of how to finish them.
- More TW - not sure what but it will happen.
- The Christmas tree tea cosy - will need to buy thread for that though.
- The cutlery WIP needs finishing.
Now I will take a while to show where they are now and explain more as needed.
Mike's Mushrooms:
I have not worked on this at all since my last post with a photo of it in, which was may 20th of last year. It really needs a bit more work done to it, so my goal for this year is to at least finish the 400 x 400 stitches bit of marked fabric to make this section square. I would however like to get a bit more than just that done.
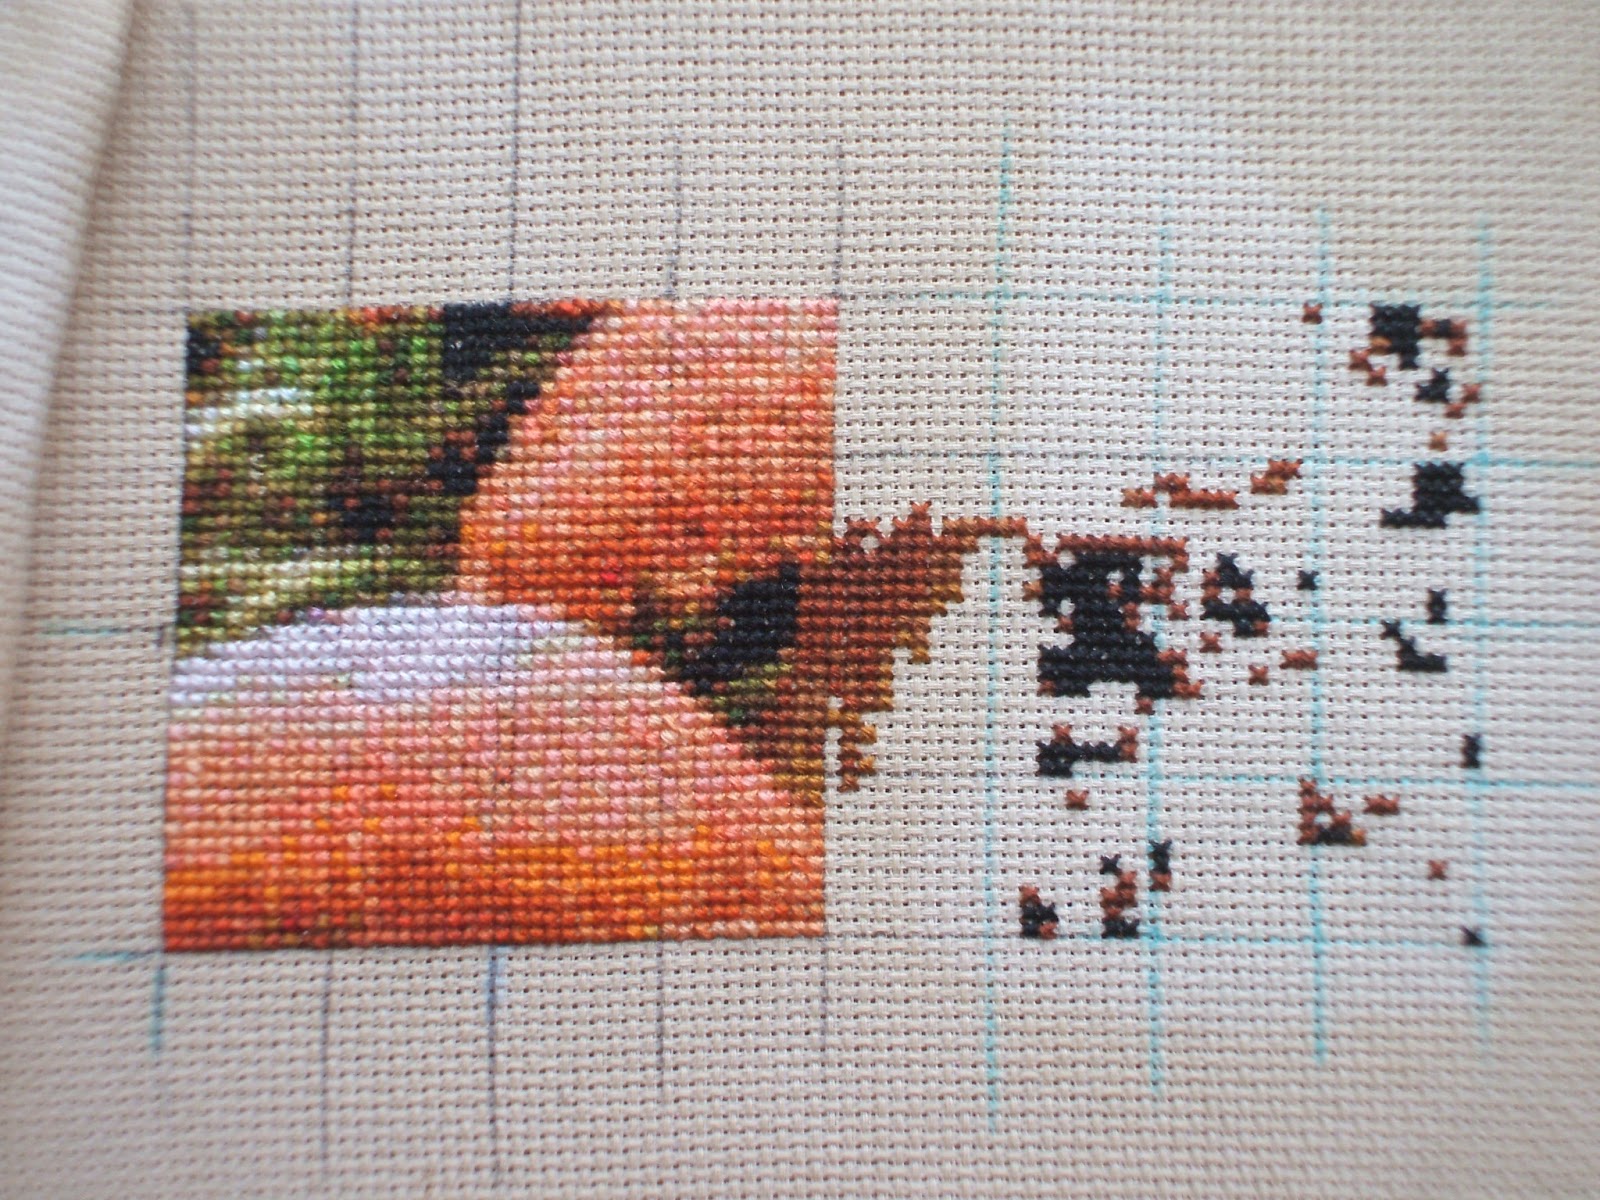
Teresa Wentzler's Castle Ridge
This was my Christmas present to myself which I started just after midnight on January 1st I did some stitching on it before setting it aside to work on the Ornament of the Month ornaments I made. I bought a kit as I wanted to do this the way Teresa planned. It's 18 ct Antique Aida, 90 x 126 stitches and will be 5" x 7" / 12,7 cm x 17,8 cm when complete. There are only 24 colours of DMC in the kit but Teresa has, as she always does, made that stretch to create 32 colours.
Last night I picked it up again and went from having about 50 stitches done to who knows how many (I'm not a stitch counter - sorry) that you can see in the photo to the left. I had a go at thread gridding - it didn't go entirely to plan as you can tell by the fact that only the bottom left hand corner is marked, but it's even and that's more important.
I have decided to work on the rocks at the bottom first, then move onto the castle.
I hope to complete this embroidery this year.
My ornament SAL
You will have read about my SAL above so I won't repeat myself hehe. My plan is to complete one hanging ornament and one garland ornament a month around the time I post the next pattern. They will all be done on the same fabric using 3 colours of DMC.
The Christmas tree tea cosy
This is a project that I've been wanting to do since I saw it in a magazine in the 80's - this year I
WILL make it happen! I have the fabric for it at last (it was discontinued) and all I need to do now is buy thread for the project and make it.
The cutlery sampler
This is a Lanarte kit I got for myself last November
It will be 6 x 7 3/4"/ 15 cm x 20 cm and is made on a 27 ct (according to the packet) cotton evenweave. So far I have done 2 of 6 pieces of cutlerry and then there is a border - it should have "Forks and Spoons" backstitched at the top and bottom but I don't see me doing that - I am probably going to use the side borders at the top and bottom instead.
I hope to complete this embroidery this year.
The jasmine spray
For some reason I thought I had a lot more to do on this but it appears that "all" I have to do is rip out the backstitching I don't like because it doesn't show at all, which means that the petal lines do not show and it all merges into one, and redo it.
This is also an embroidery I wish to complete this year - this month even if I can make myself do it, as for some reason thought I love the colours and love the photo in the magazine I got this from, I have grown to really dislike this piece.
The border of the week sampler
In The Netherlands "
randje per week" has become a bit of a thing. It's a SAL where you are given 2 or more borders a week to add to a long strip of fabric - or a length of edging fabric. It started last year and really took off with a fb group being made and even meets. Last years patterns will be made into a book but for another couple of months you can download the weekly patterns from the blog. They are continuing this SAL this year.
The interesting thing about this SAL is that ALL the borders are taken from old samplers made by people, often school girls, to learn the patterns. I love that they not only give the pattern but, on a second blog, they give all the information of where the pattern came from.
I will be making my version on a larger piece of light brown Jobelan, probably using my Cosmo variegated threads. My plan is to attempt to keep up but I will see how it goes as I am still at the hemming the fabric stage.
Celtic Wolf
The dA group Stitching Pirates is hosting a competition:
TRIBAL AND TOTEMIC CONTEST. For my entry I will be making a Celtic style wolf. This will need to be finished before the end of march so I need to hurry up and decide what fabric to make it on.
More TW
I'm not entirely sure which of the many smaller TW patterns I will do but my plan is to slowly work my way through them.
This is my list for now, hopefully my list will not grow by too much.