Showing posts with label Doctor who. Show all posts

Sunday, 23 December 2018

50 x 50 for 2019

50 x 50 is a really nice size for making patterns that can be used for a wide variety of things... pincushions, biscornu, cards, ornaments, and framed pictures - you name it, the patterns can be used to make it! The patterns for this year each use only one colour so are perfect for trying out variegated threads or speciality threads before embarking on a larger project with them.

Monday, 20 October 2014

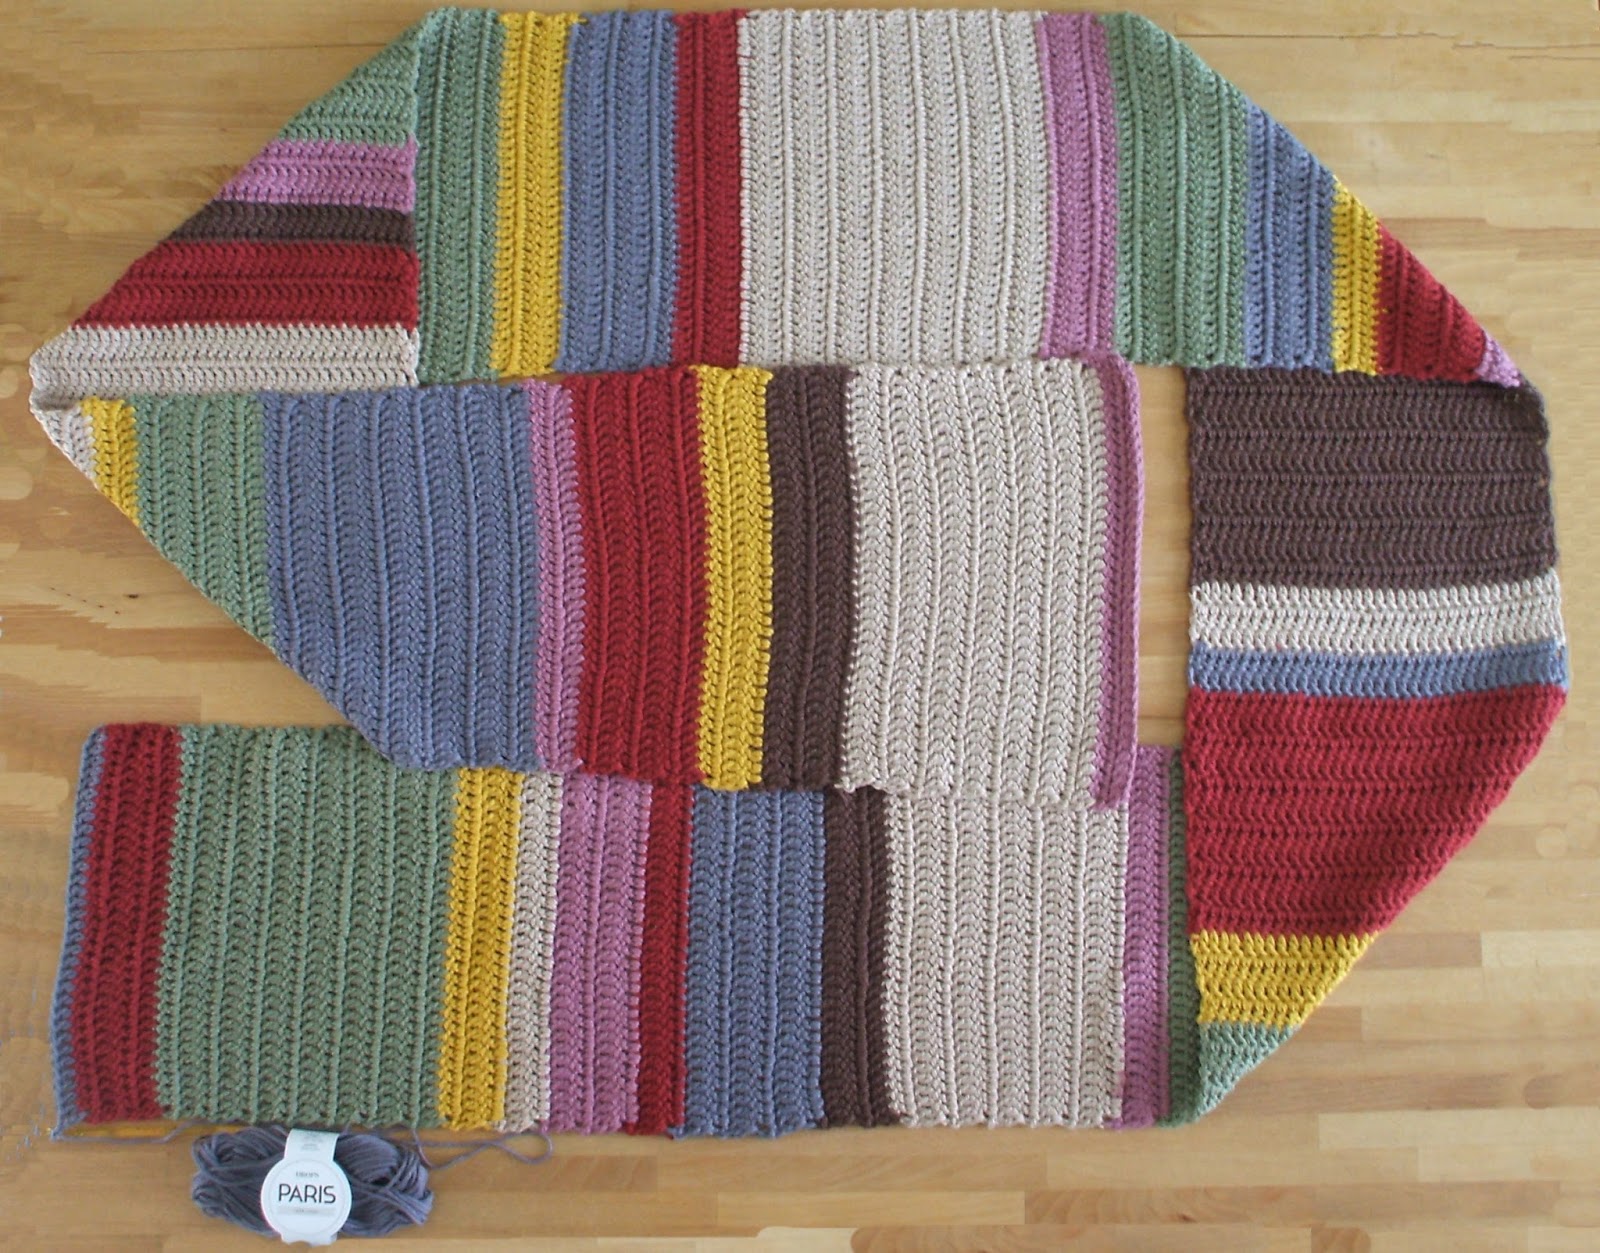
Doctor who scarf final update + a little more

Last Friday when I posted the image above I was expecting to finish the scarf on Sunday as I'd done about 21 rows a day and still had 59 left, however I was wrong.. very wrong. I finished the scarf Friday night apart from the fringe, which I did Saturday. I entered the berserker mode and did the 59 rows in a single day.
On Saturday I measured and cut 24 lots of 12" lengths of all of the 7 colours in this scarf - don't worry I did it the fast way by holding all 7 colours together and measuring them like that. I then proceeded to add the tassels to the scarf. After that a trip into the garden to photograph the scarf was in order as it was a lovely sunny day.
Here is the scarf in all it's glory being modelled by my mystery apple tree. Please do ignore the weeds, between my hand not working properly and my knee feeling that bending was beneath it getting down to weed was not an option.

As I had stacks of wool left I decided that it would be a good idea to make a matching hat. I used Lion brand's  Free Crochet Pattern: Tip Top Topper (sign up is required to view this - sorry) as I thought that a more eccentric hat suited the 4th Doctor so much more than a beanie and using the same inch pattern as I had done for the Doctor Who scarf itself as the base I made the hat. I started at the same place as you would normally to make the scarf and counted each inch on the pattern as a row for the hat and rounded the partial inches up or down to whatever was closest.
The result is this lovely hat which isn't quite as sturdy as it would have been if it had been done with the suggested yarn instead of 2 x the Drops Paris I had used for the scarf however this way it matches better.
This is the hat from above with the scarf on the table so you can see them together. The photo might be slightly out of focus - it took me a good 15 photo's to get this one with me standing on my tip toes on a chair and holding my arm up as high as I could.


I still have several full balls and some partial balls of wool left and I am plotting what else to use them on.

Friday, 17 October 2014

Doctor who scarf update

 
Last time I blogged about the scarf, a mere two days ago it looked like the photo above and clocked in at a length of  94 1/2 inches after just 6 days work. Something I forgot to mention in the last post was that I had decided to make life difficult for myself and make faux slip stitches as the original scarf had slip stitches at the ends where the colour changes. I achieved this by not finishing the colour and starting the next but by adding the new colour into the loop of the colour I'd just finished and then doing another chain stitch before turning the work and doing the double crochet stitches. This is slightly fiddly to do as if you pull too much the end falls through.

On day 7 I did an additional 25 rows adding 12 1/2 inches to the length of the scarf making it 106 1/2 inches.
Day 8 (yesterday) I managed to add another 23 rows = 11 1/2 inches to the scarf making it 118 inches long (that's almost 3 metres!) I won't be able to take any more photo's of the scarf along the width of my table - it's just too long now, so I'll have to move the Lego and embroidery thread boxes off the end of the table to use the length tomorrow.

Just 59 rows left to do! I should be finished by Sunday at the latest.

Sunday, 10 February 2013

Doctor Who gifts

I made this for my bf, who is a big Dr who fan, as a valentines gift - I have given it to him a bit early because he's visiting me right now and I wanted to see his reaction in person, so it's now safe to also post here as he watches this blog too :) It's cross stitch of a Dalek - the soufflĂ© girl one - holding a soufflĂ©. It's made with several embroidery stitches I found over on Sharon b's Dictionary of Stitches for Hand Embroidery and Needlework  It's really great and has lovely clear pictures :) As he's not into pincushions I filled it with rice so he can use it as a paperweight or zap it in the microwave and use as a pocket hand warmer.

Stats:
Size of embroidery before being sewn: 3 1/2" x 3" / 8,9 x 7.6 cm
Fabric: 18 ct Aida, dyed with coffee

The Dalek:
Size: 1 1/8" x 1 1/3" / 2.96 x 3.39 cm
Number of colours: 22

The rest:
Colours used: Misc reds both plain and variegated.


Something else I also made for him is this Tardis biscornu. It's also filled with rice. I started it way back in November but didn't finish it in time to send it for Christmas and then I was ill so I kept it till he came here instead.

Stats:
Size of embroidery before being sewn: 3,3" / 8,5 cm square
Size of completed biscornu (corner to corner as seen in the lower images): 2 1/8" / 5,4 cm square
Fabric: 18 ct Aida

The front:
Colours used: 798 (blue) 310 (black) glow in the dark (E940) and florescent yellow (E980)
Total number of cross stitches: 1144
Total number of backstitches: 392

You can find the pattern here

The back:
Colours used: 798 (blue) for the backstitching and variegated red for the bow ties.
Total number of cross stitches: 36
Total number of backstitches: 216

You can find the pattern here

I used glow in the dark to join the sides together to make the biscornu.