Welcome to the first part of the Sampler SAL! This time we are starting the first page. Initially the stitches may be simple, but it's to make sure everyone is on the same playing field moving forwards. Simple also means finished quickly, which isn't a bad thing either.
Please wait with embellishing/getting creative till I indicate which spaces are available to do your own thing — there will be space on every page to personalise it with extras if you so chose — or just to practice a stitch a bit more.
This week we are going to do the running stitch — something most of you will know and which is used in combination with a second line to make the Holbein stitch. This week we will do the simple running stitch, not the Holbein stitch. I'll be linking to some helpful pages on other sites today so that you can see how to do things more easily.
 |
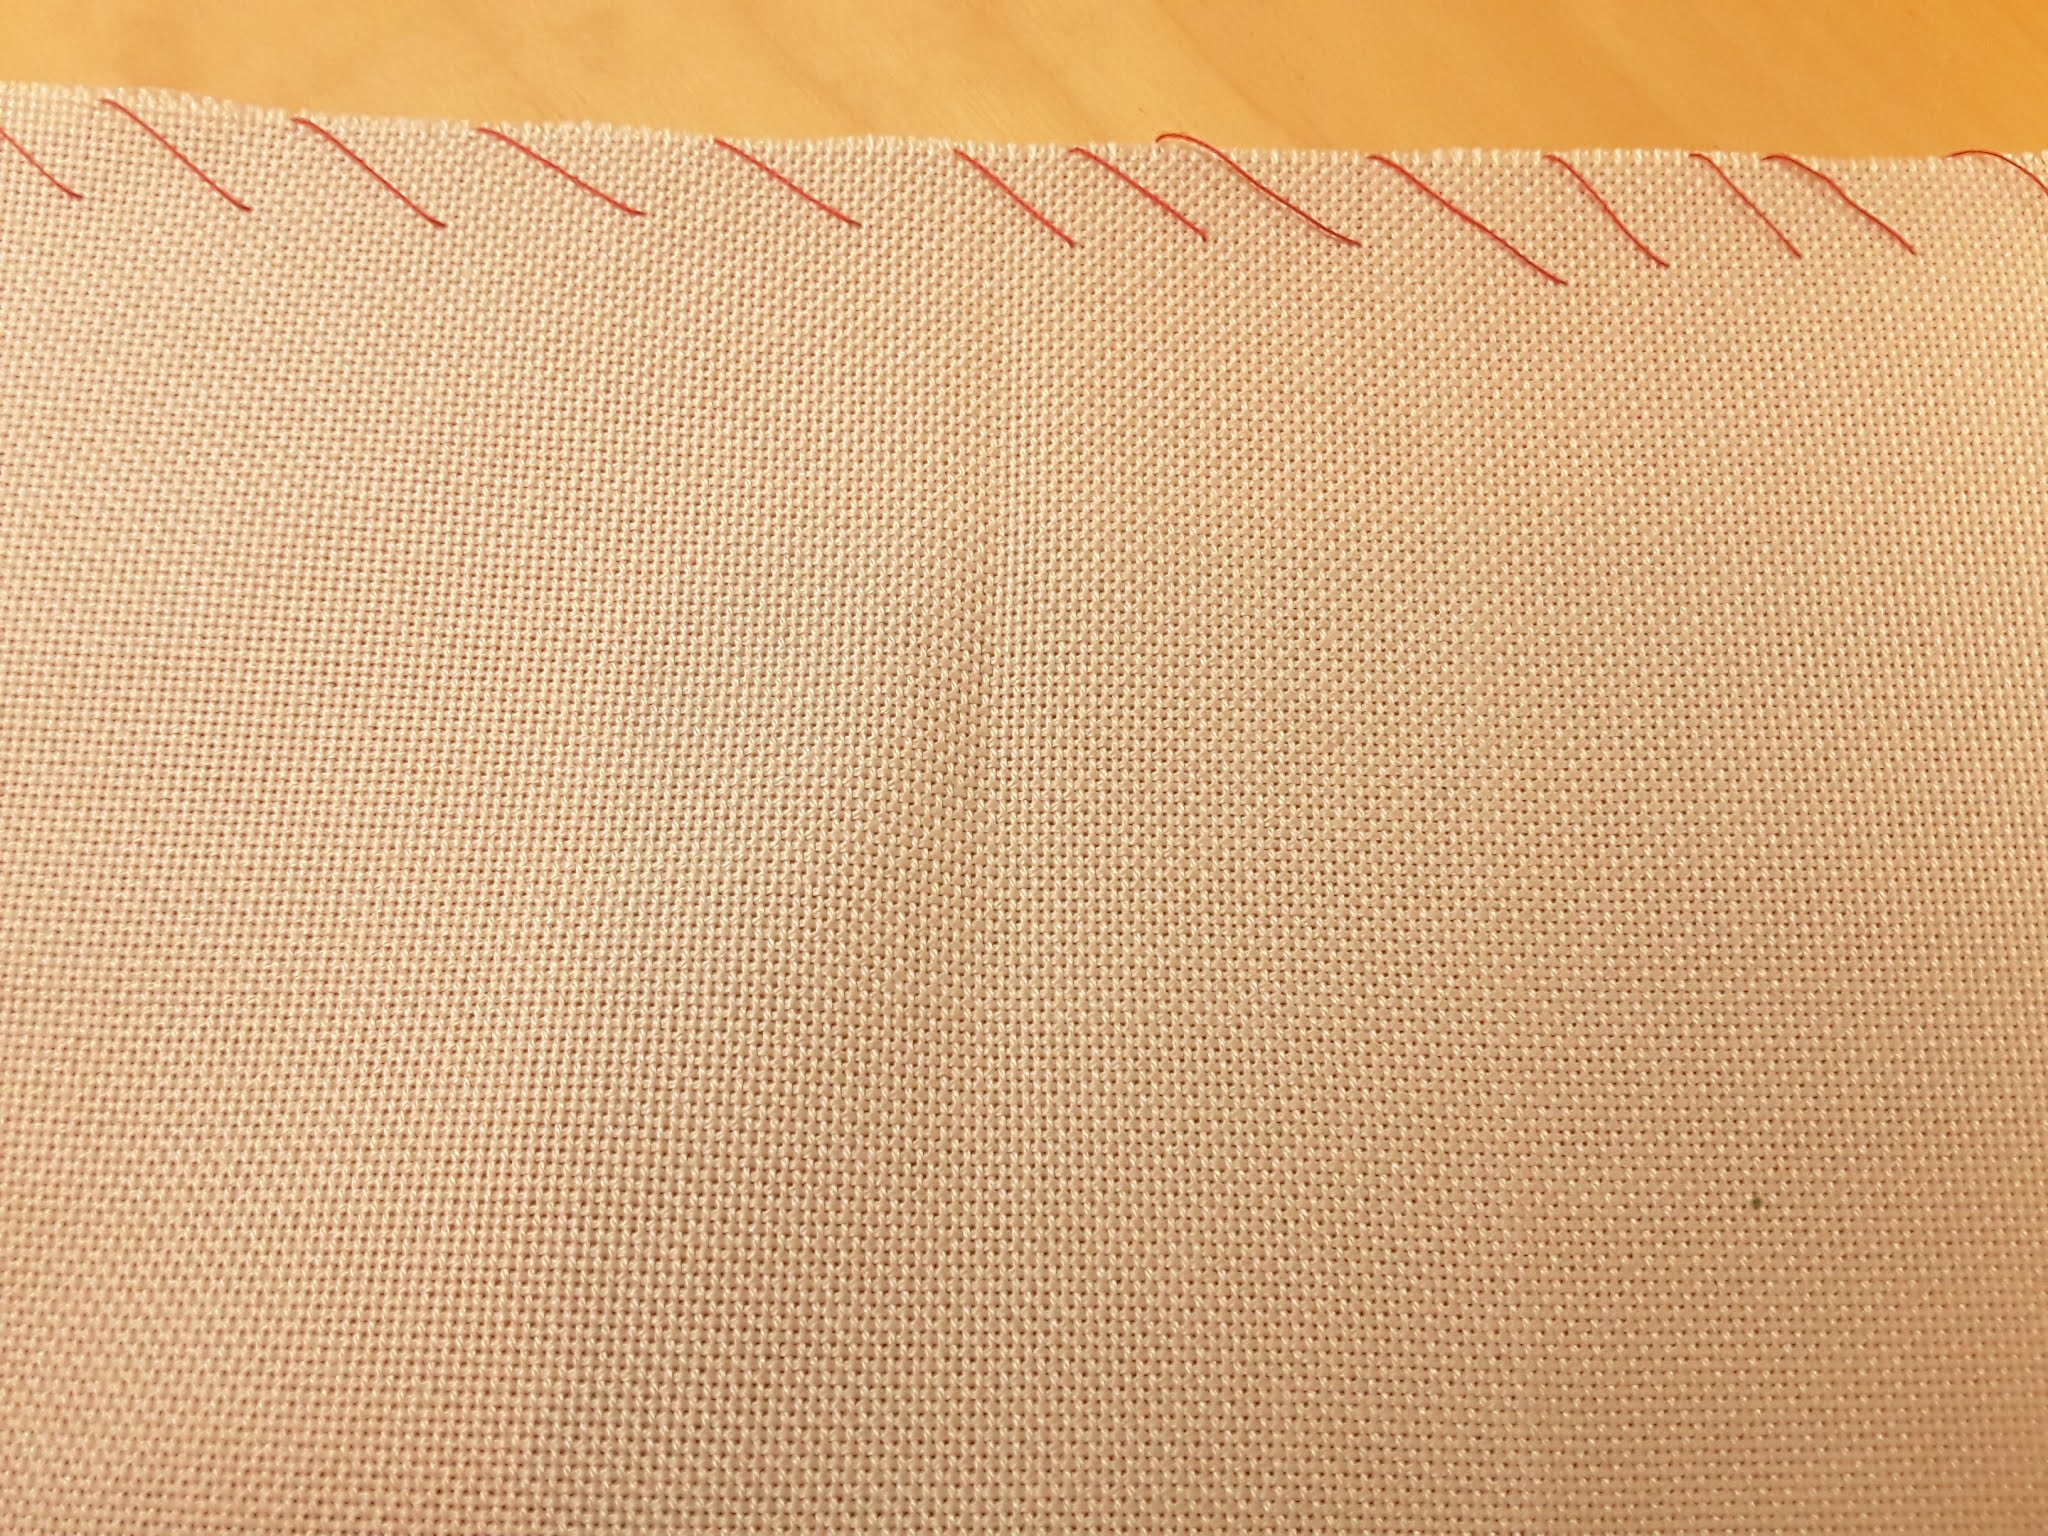
The prepared fabric (28ct Sand Jobelan) using red sewing thread.
|
But before you start at all it's probably a good idea to neaten off the edges of your fabric to avoid the fabric threads unravelling or getting caught on the back of your stitching while you work. A good tutorial can be found
here. I Don't normally bother for Aida but when using evenweave I usually do as it tends to unravel faster. I usually use normal sewing thread for this, and as you can see I'm not very good at this bit, as long as it stays well within the 3" finishing area, and you take care to properly stabilise the corners it should be OK.
When it comes to starting your thread there are several ways of doing it, there is the humble knot, that is often frowned upon, the pin stitch, and many more options.
- Needle and Thread has a list here, with links to a tutorial for each of them.
- Peacock and Fig has a video tutorial for the loop start and pin stitch here.
I'll be using a single strand of DMC 347 for mine and as I'm a heathen I generally use a small knot anyway.
 |
The centre marked by squishing the fabric a bit.
|
This week we will be laying out the groundwork for the rest of the month, so it's important to make sure you start in the right place. You will need to start in the top centre of the pattern.
 |
The counting pin shows the 3" line, the start of the thread is two stitches down and one along as I prefer to stitch right to left.
|
- Fold the fabric in half along the 14" length to find the centre.
- Squish the fabric a bit to mark that spot (second photo).
- Measure 3: / 7.62 cm down from the top.
- Count two stitches down, and one along to the left if you prefer to stitch right to left (third photo), otherwise only count two stitches down.
- This is where you start your stitching.
- For this pattern you will need to stitch over two strands of the evenweave.
- Use one strand of floss.
 |
I use the sewing method to do mine, meaning that I start two threads away from where my thread is, go down two threads further along, then up again two threads along and repeat till I have enough stitches or my needle is full. Finally, I pull the needle out and repeat as needed.
|
 |
The boxes are stitched and the circle drawn (with dark blue chalk in my case). Note that the X isn't marked in any way, it's just the marker in the pattern.
|
- Do the boxes first as per the dashed lines on the pattern, each dash is a stitch.
- If you are not familiar with running stitch, then you can find a video tutorial here.
- Then grab the shot glass/1 1/2" — 2" circular object, place it where
the X is in the pattern and trace around it. It doesn't have to be
perfectly lined up with where I put the X, more or less will do — there is wriggle space in the
pattern for it.
- Do a running stitch on top of the line you just drew, try to make it as even as possible.
- Just before you reach the end of the circle move ever so slightly inwards so that your stitches will end up a small space inside the circle.
- If you don't wish to “freehand” the stitching then draw a spiral first.
- Keep going in a spiral till you reach the centre.
- How many times you go round entirely depends on how close you choose to do the running stitch.
 |
All done! Note that my stitches aren't all that evenly spaced once I'm not stitching in a straight line, and that my spiral isn't perfect. I eyeballed it and wasn't always perfectly accurate.
|
You can find the pattern
here.
That's all for this week! Have fun and don't forget to show us your stitching results in the
Facebook group!


Uh, I always thought this sounded intriguing, and it looks even more interesting! I'll have to do a deep dive in my fabric cabinet though. (Do you think this would work with a fabric that's not entirely even/slightly different counts vertically and horicontally? I got a giant piece of linen I don't know what do do with...)
ReplyDeleteIt should work and as long as you don't expect squarish things to end up square it will be fine. :) Looking forwards the same applies really, so you could earmark this as for the project and finally use it for something. :)
Delete