Showing posts with label recycling. Show all posts

Monday, 7 October 2013

TUSAL update

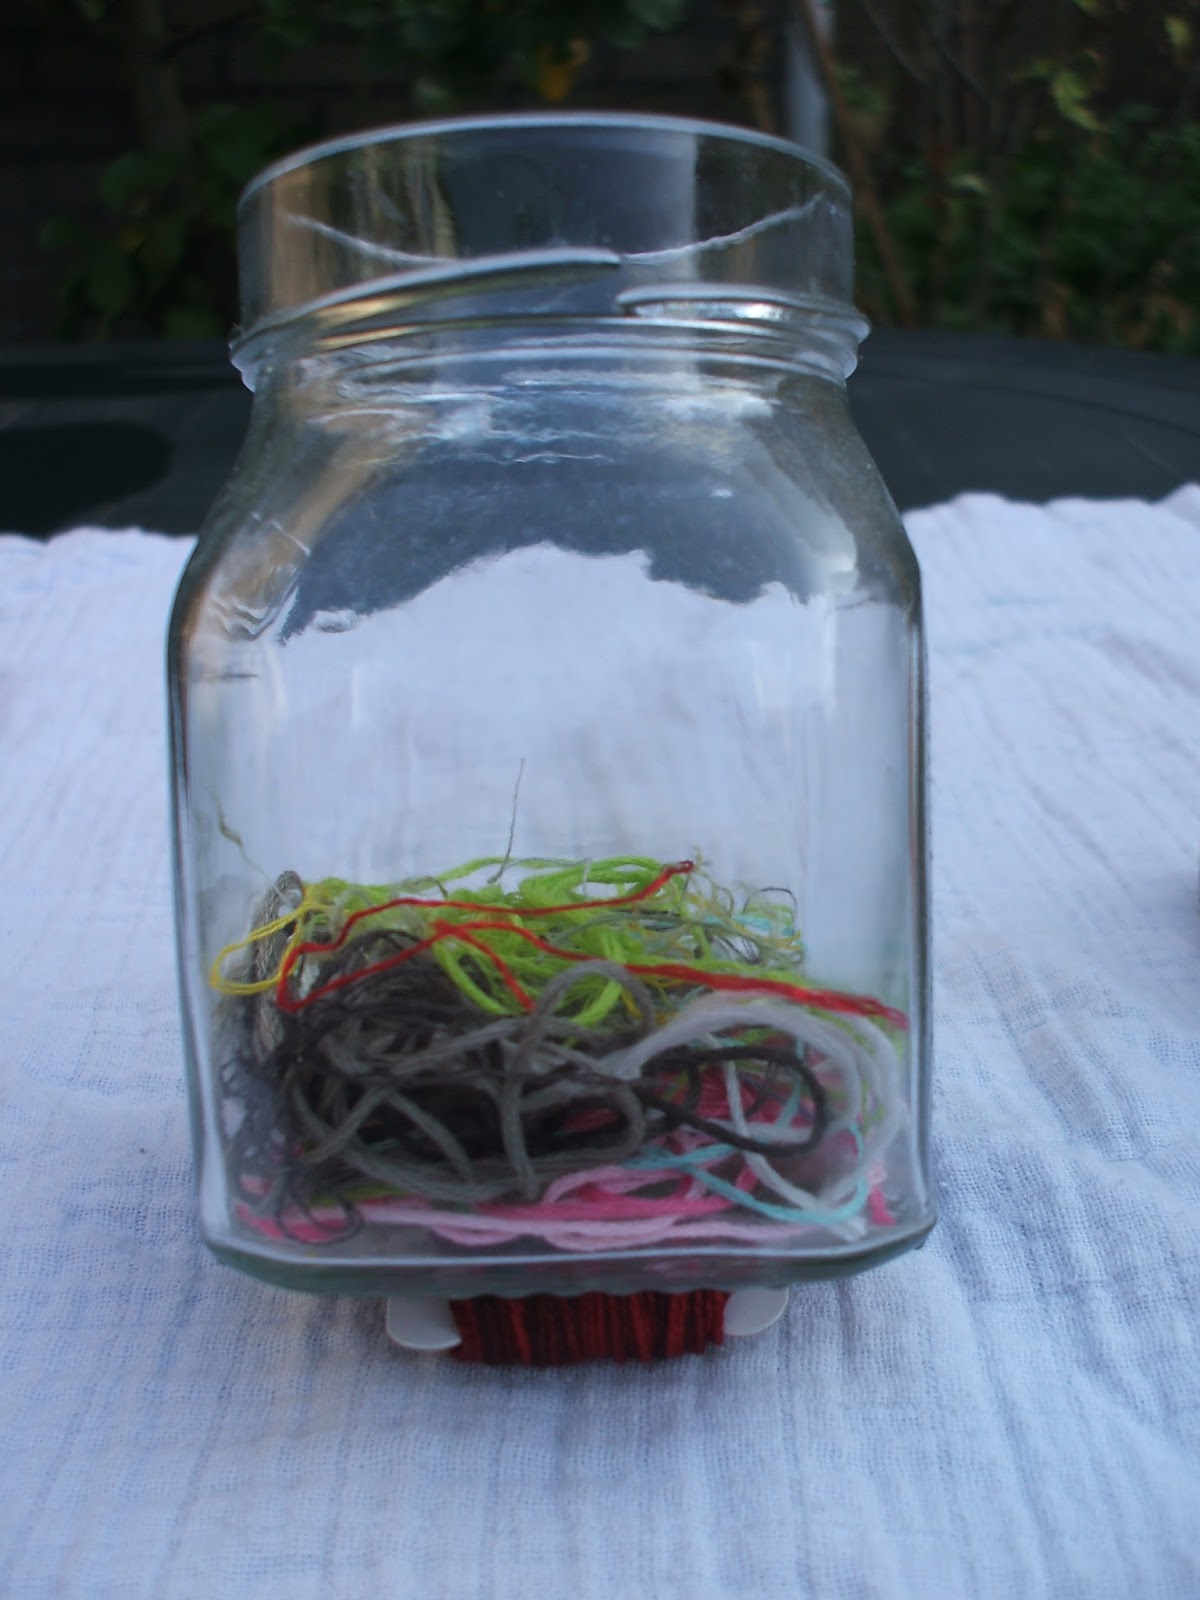
This time I'm giving you a 3-in-1 TUSAL update as it's been a while since I have taken photo's of my TUSAL jars and put them on my blog. What is a TUSAL? It's a Totally Useless Stitch-A-Long! Check the side bar for a linky to the lovely lady who runs it. Quite a lot has been created lately but not always stitching related and as I only keep the threads from embroideries the jars are not as full as they might be. I am only including photo's of the embroidery things I've worked on, however everything mentioned is on my blog.

July

 In July the only thing I embroidered was the raccoon embroidery so the jar is empty aside from the tails of threads and the threads from the kit that I didn't use as they were too short for me to keep.

August

In august I worked a bit on the apple and on the failed mystery project B

September

 
In September it got a lot done I finished the apple and stitched a complete sewing kit.
Non stitching wise I made an e-reader cover and a cable pouch for the e-reader cable. as well as completing a recycled plastic messenger bag, a crochet plastic basket and a tiny little pouch that is the right size for a few coins or 2 AA sized batteries and a small quilt top.

Thursday, 19 September 2013

Recycled plastic... Part 2

Having used part of a large red plastic bag to complete my recycled plastic bag earlier this week I had a good chunk of it left. It seemed a huge waste and contrary to the theme of recycling to have such a large amount of the bag leftover to just throw it away, even if it was into the plastic recycling bin, so I decided to cut what was left into 3/8"/ 1 cm strips and crochet them into a little basket. I used my size 10 hook, which is a size P in the USA and a 000 in the UK

Crocheting plastic strips is hard work, even when they are as skinny as the ones I was using so my hands soon complained about life so it took a bit longer to make than it would normally have done to make a same sized basket from yarn. I have no idea how many strips i used but I used a large expensive clothes shop bag so it was rather on the large size and quite thick. This did result in a fairly sturdy basket which can be used to keep things in.

The basket is roughly 4 inches / 10 cm in diameter and 5 inches / 12.5 cm high.

Tuesday, 17 September 2013

Recycled plastic...

Yet another contest entry (I've been doing a lot of them this year too) This was created for the recycling and reusing contest at #projecteducate on Deviant art, as part of the the Artisan Crafts fortnight and I got it completed at the very last minute (I seem to be making a habit of that too hehe)

I had learnt how to do this at the arts centre last year when they had an open day and you could sign up for several free classes - I chose this one as it looked like fun and seemed simple to do - which it was!
I'm going to save my hands and do a copy paste from the post at deviant art to show how I made this.

What I did:
  • I took a lot of plastic bags from shops and cut out shapes I liked the look of or colours that matched what I had going.
  • I took a large plastic bag to use as the base and cut off the side seams and handles.
  • I took all my bits to the ironing board I'd already previously covered with greaseproof paper and turned the iron onto a low setting.
  • I then placed another sheet of greaseproof paper on top and started ironing the layers together, trying to take care not to melt the platic too much but also not too little.
  • The resulting sheet was trimmed straight along the sides and one edge and the top edge that was to be the flap was cut to echo the shapes along that edge. (which is why it looks a bit crooked - It doesn't help that I'd slightly overheated the plastic there lol)
  • Then I sewed some decorative lines on the plastic using black thread.
  • A strap was made from a thick red plastic bag that I'd cut 2 strips from the base without cutting the side seams - I cut one side open on each and cut the folds of the base of the bag so that I ended up with 2 long strips that were 4 layers thick each.
  • I placed them on each other and sewed them together along the sides.
  • I sewed the side seams of the bag closed and, by folding the bag so that the side seam was against the middle of the base I sewed a line to make the base of the bag.
  • Last of all I added the strap to the bag.

Size: 11 1/2 x 13 1/2" / 29.2 x 34.2 and will take an average sized laptop.