

But first how to stitch things…
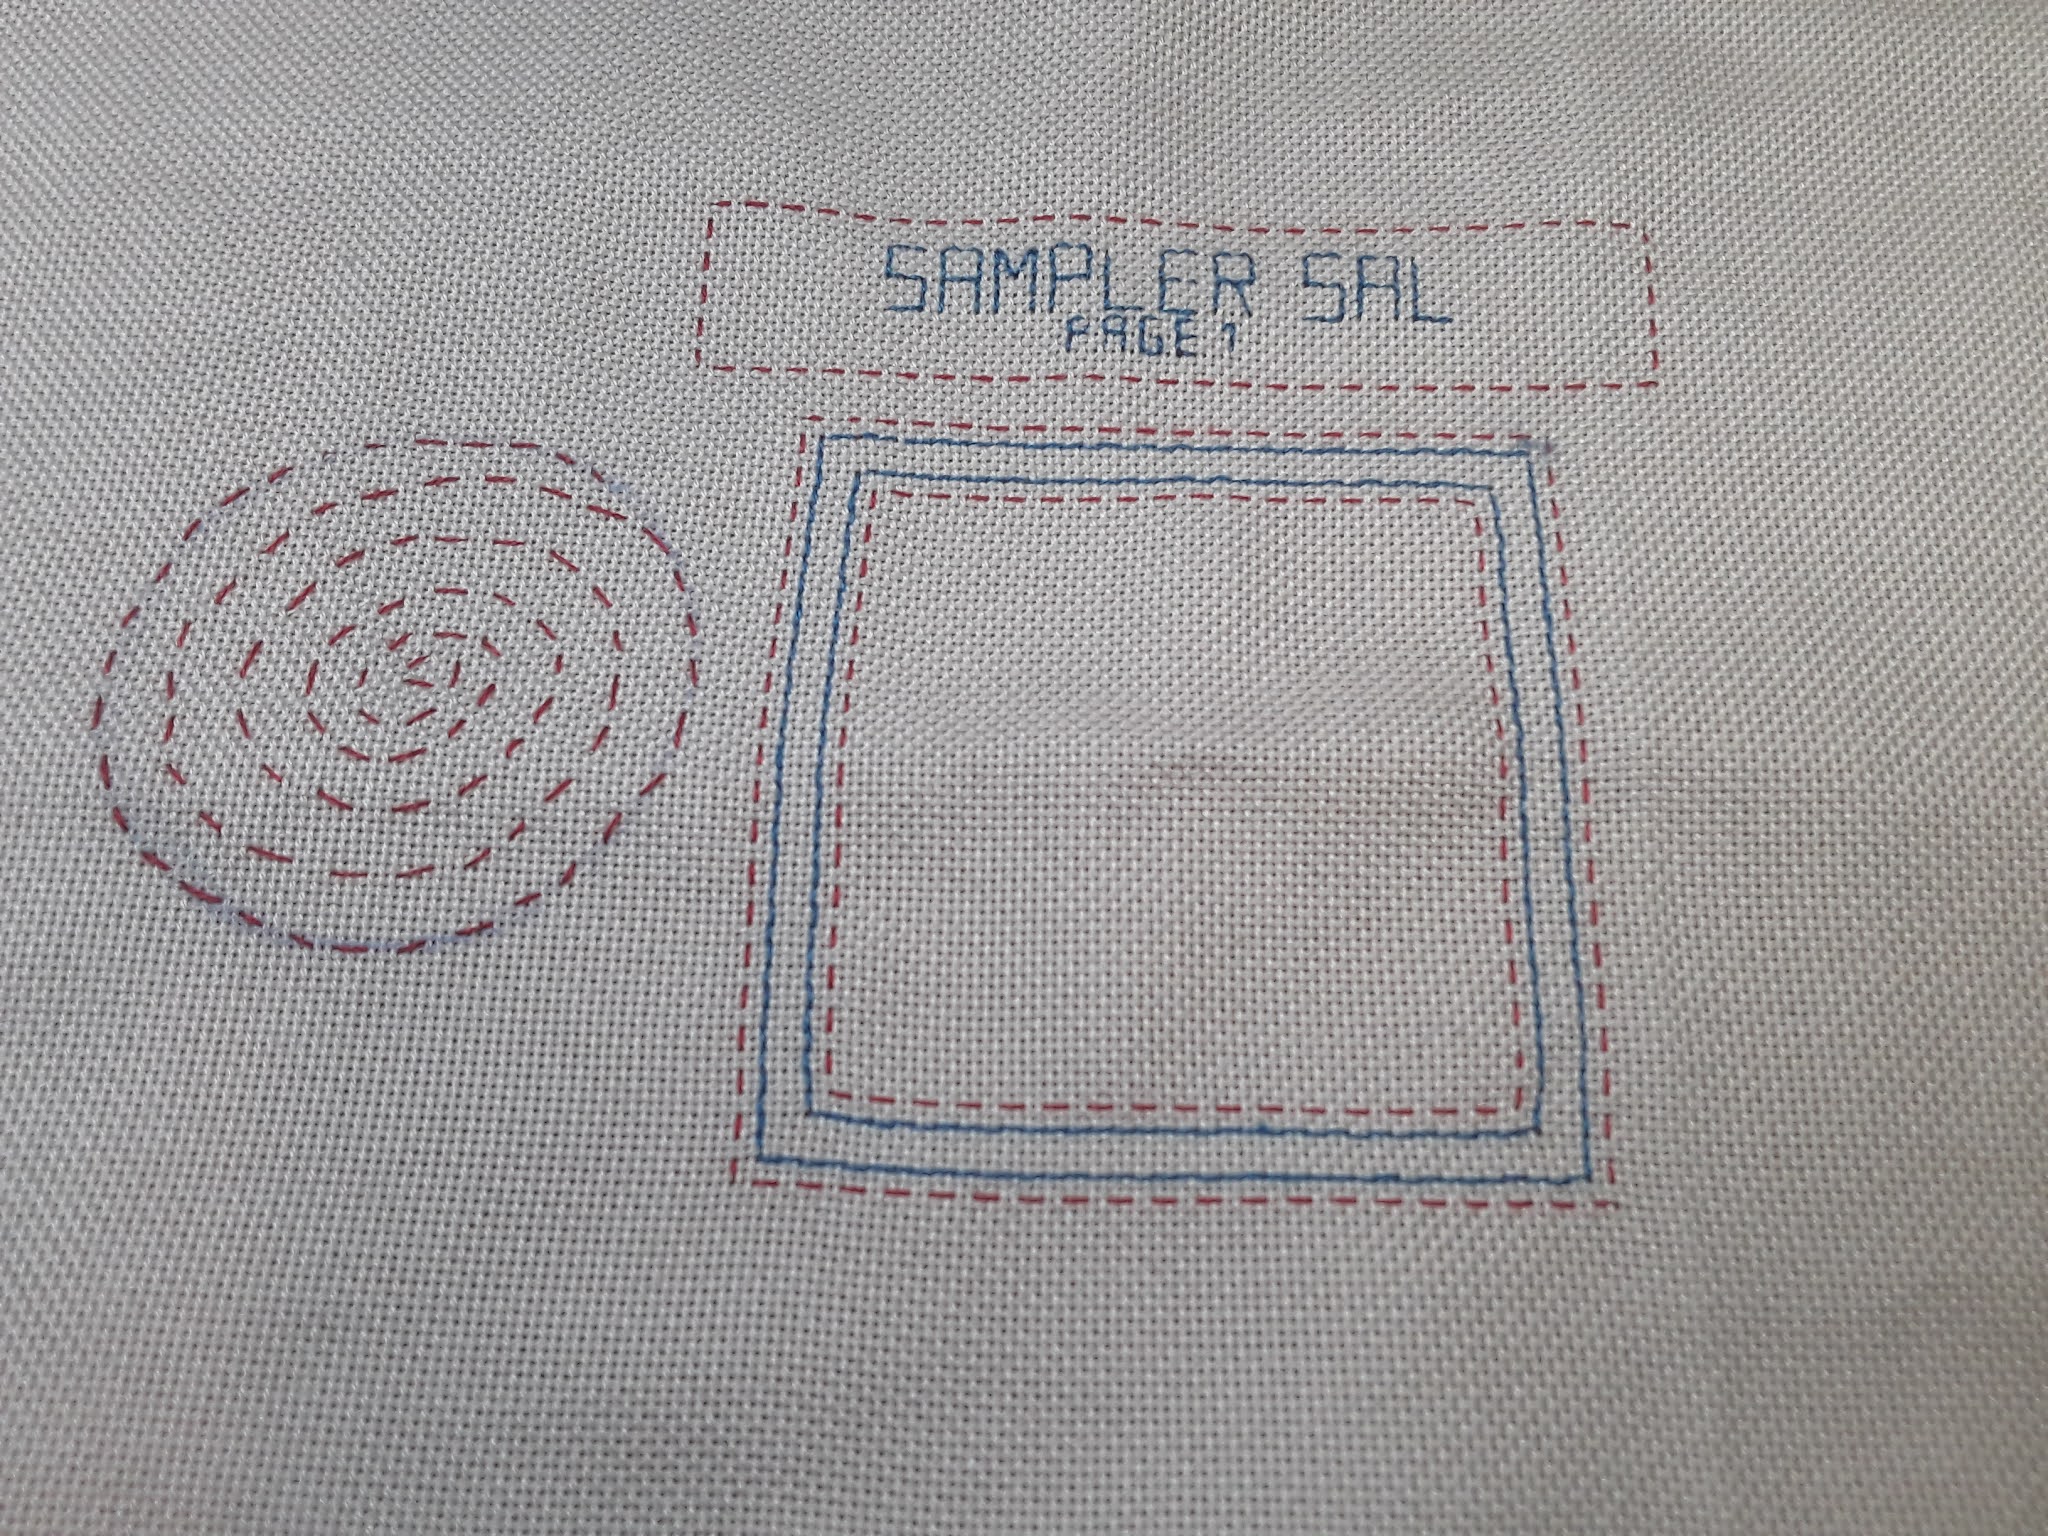
- The header I did with normal backstitch (though if you look closely you will see I goofed on spacing, so it's not quite according to the pattern. I didn't have time to fix it and may decide to leave it). If you'd like to see a video tutorial look here. You can also work this stitch just from the front.
- Then I did a running stitch line where the straight lines are in the pattern. Next I did a second line of running stitch alternating with the first line — this is when it's called double running stitch, which is also known as Holbein stitch. I tend to do several stitches at once, just like with the normal running stitch.


The two lines of double running stitch complete. 
- Then grab the shot glass/1 1/2" — 2" circular object, place it where the second X is in the pattern and trace around it. It doesn't have to be perfectly lined up with where I put the X, more or less will do — there is wriggle space in the pattern for it. I used a ruler to more or less line things up with the first circle before drawing the circle with orange.
- Next I drew a loose spiral using the orange.
- Finally, working from the centre, I drew the blue spiral.


You can find the pattern here.
That's all for this week! Have fun and don't forget to show us your stitching results in the Facebook group!
As I said I'll be waiting until all the patterns for the month are out to decide if I want/need to make any changes with my strange fabric. But my fingers are itching alreach, this looks fun!
ReplyDeleteSounds like a plan — week 3 patterns should help a bit more, the final week patterns will look a bit stretched but other than that should look OK :)
Delete